
DIY WordPress Maintenance
Please note: before making any core or plugin updates to your site, be sure that you have access to support from your web hosting provider. You may need their help if you have limited access or run into theme specific PHP related errors.
If your website is built on the popular WordPress CMS platform, you likely have access to admin dashboard and are able to create and edit content. WordPress is a great CMS for managing websites for users without extensive coding experience, however it is also vulnerable to malicious attacks, exploits and deprecated functionality if not maintained properly.
It may seem daunting to keep your WP Core and plugins up-to-date, and if you simply don’t want to deal with it, we can maintain your WordPress site for you.
But if you are up to the task, here are the steps you should take to make sure your website is running the most recent stable releases.
1. Log into your WordPress admin
Unless you are using a login redirect, your admin portal will be accessible at:
yourwebsite.com/wp-login
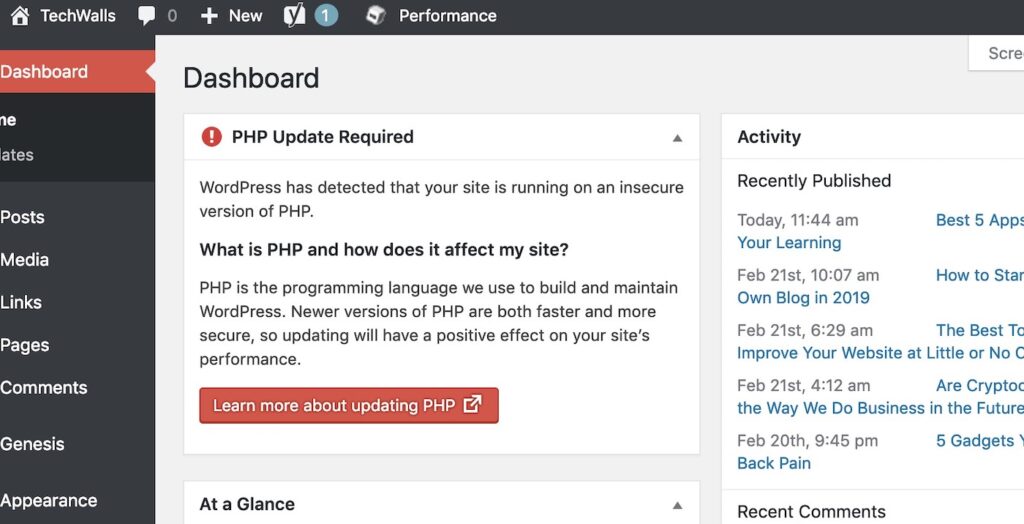
Before proceeding, be sure your WP dashboard is not saying your PHP version is out of date (see image), this would be an alert right when you log into WordPress. If so, reach out to your hosting provider for an update before proceeding.
2. Create a Backup
Depending on your hosting configuration, your site is probably being backed up periodically but for this process you should manually create a backup, especially if your site has not been updated or maintained in a long time.
go to Plugins > add a plugin
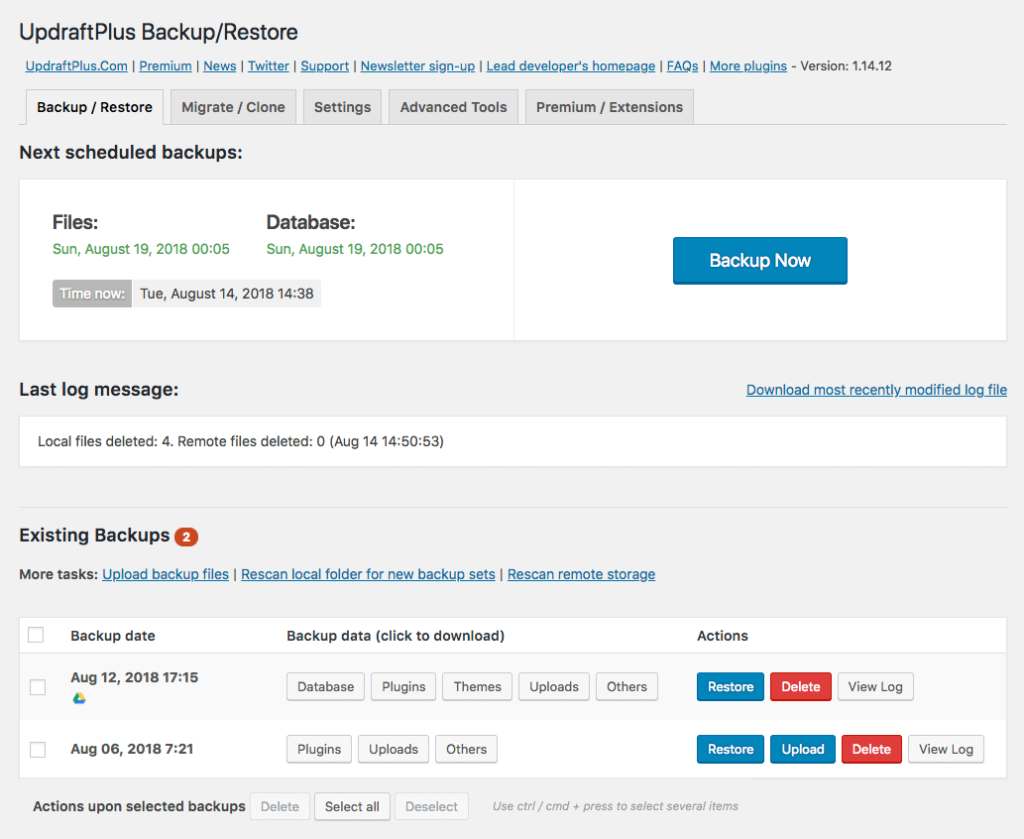
there are several plugins that will back up the site, but for this purpose you can search for “Updraft”
Install the plugin and activate it. Click on the plugin settings in the sidebar and follow the instructions to create a backup of all the site files & database.
Once this has been completed you will have a restore point in case your site needs to revert at any point.
3. Get FTP access or File Browser access
(This step is not required but HIGHLY recommended)
This is usually the trickiest part for an inexperienced user on a DIY web maintenance project and why many people choose to have professional WordPress website maintenance.
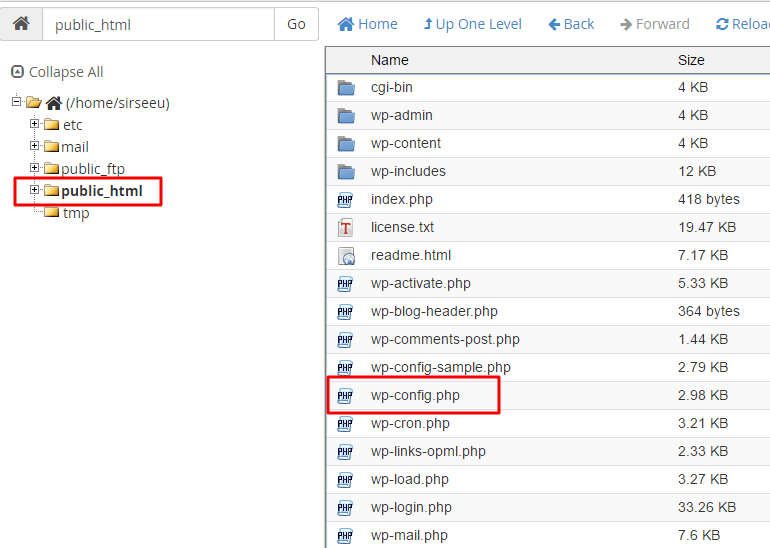
If you are familiar with FTP you will want to connect to your website in your application such as FileZilla. Be sure you can access the file called wp-config.php in your web root. This is just a precaution so you can troubleshoot if the site experiences an error.
If you are not familiar with FTP, it may be easier for you to log into your hosting account (not the WordPress login) and access your hosting panel. Depending on your host, there may be a tool called File Browser or File Viewer. This should show all your site files with folders. Be sure you can access the file called wp-config.php in your website root folder.
Don’t make any changes, this is just a safety measure.
4. Start Updating
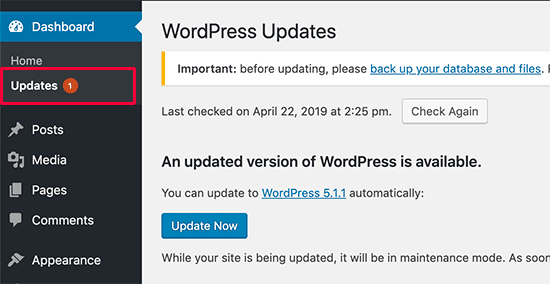
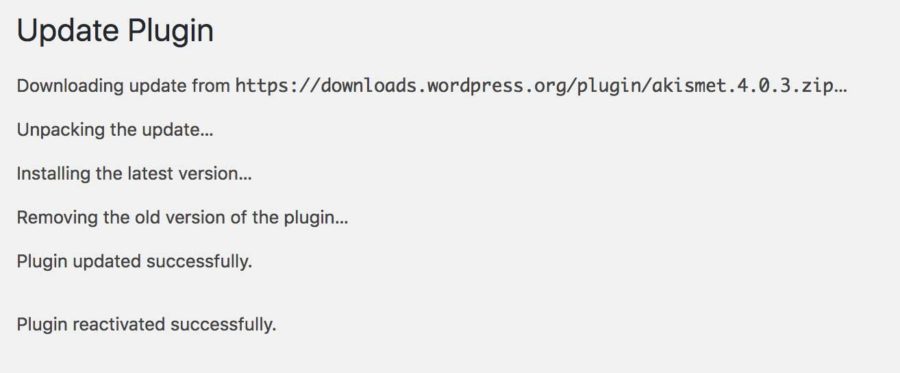
Once you have a backup created and remote access to the files, it is time to begin the updates. Hover on Dashboard in the sidebar > updates
- Update your WordPress Core first if necessary, this should only take up to minute. If you experience a critical error go to #6 Below. If the site cannot update but still works, contact your hosting provider as there are likely permissions issues that do not allow you to update.
- Once WP is updated, check off all the plugins that need updating and click update. If you experience a critical error go to #6 Below. If some cannot update but the site still loads, they may be premium plugins that require a license. Go to the settings for those plugins and look for licensing info to purchase a license.
- It is okay if you cannot update all plugins as long as the site is still running, if so move onto #5.
5. Review Your Site
No errors? So far so good, however your site may seem okay after the updates but be sure to test all of the front-end as well as admin functions like adding pages, sliders, etc.
If things appear to be broken, check for any errors (see #6)
If everything looks good, Congratulations! You successfully updated your site, consider adding a security plugin like WordFence to protect your site and alert you when updates are required and any other security issues.
6. Fix Errors
If you get the message “There has been a critical error on your site.” or if the site seems broken, don’t panic, it may be an easy fix.
If you have the FTP/File access available from step 3 (if not you will need to contact your hosting support) go to the wp-config.php file and edit it, look for the line like:
define( ‘WP_DEBUG’, FALSE );
change it or if it does not exist, add:
define( ‘WP_DEBUG’, TRUE );
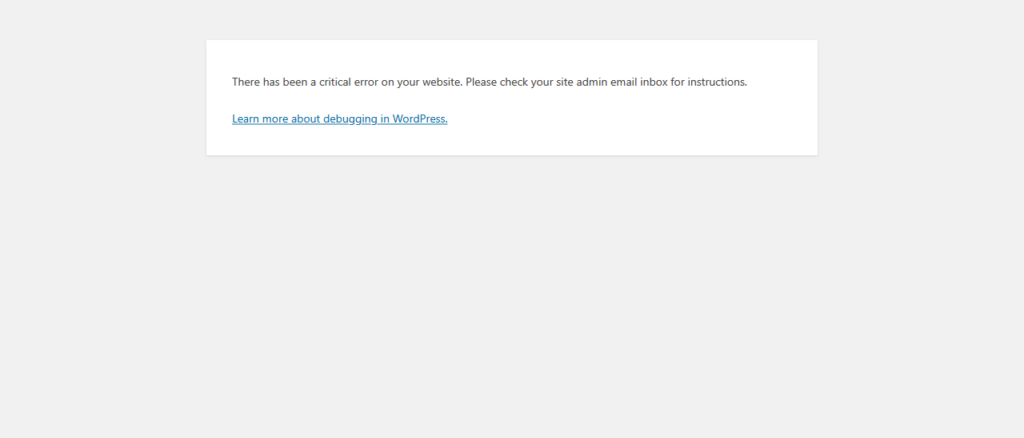
Load your site and look for the error (you can probably disregard any “Warnings” for now), it will show a file path related to a plugin, core or theme file. If it is in the wp-content/uploads/plugins/… directory, navigate in your FTP or File browser to that folder and move it out of the plugins folder (note the plugin folder name).
Check to see if your site loads now, if the plugin is not critical to your site then you are all set. If the plugin is needed, go to the plugins page and add new, search the name the plugin and install/activate it. If it is a premium 3rd party plugin you will need to check the developer’s site and get the correct file to download, then upload via the plugins page on your site.
If you have successfully reloaded the plugin without error, you should be good to go!
If the file giving the site error is in your theme folder wp-content/themes/.., you will likely have outdated PHP code in your theme and will need professional support.
If your site is loading but not working properly and you cannot repair the errors, it may be time to revert, see #7
7. Revert if Necessary
You gave it your best effort but things just don’t seem to be working properly. Time to revert back to your starting point. Go to your Updraft settings and locate the backup that you created, restore from that point. Contact a professional to help you get your site back on track.
Birch Sky Creative Marketing in NH can help you maintain and manage your WordPress site to ensure an optimal user experience.


